Country: USA
States: Nevada, Utah, Arizona, California
Sites: Las Vegas, Canyonlands, Moab, Arches National Park, Goosenecks State Park, Monument Valley, Horseshoe Bend, Bryce Canyon National Park, Antelope Canyon, Zion National Park, Death Valley National Park, Rhyolite (ghost town), Gold Point (ghost town)
Are you dying to see the world but short on time? This 7 day itinerary packs in the best sites and hikes at various US National Parks in the western part of the country! Add 1 day at the beginning and end if you want to spend some extra time in Las Vegas!
We kept this itinerary budget friendly by renting a car and staying in Airbnbs. This particular itinerary starts and ends in Las Vegas, but it is also possible to have different start and end locations, depending on what’s cheapest for you!
Day 1: Getting to Las Vegas
The reason this trip actually happened is that I found a super cheap round-trip flight to Las Vegas from our home airport in Philadelphia using my award miles connected to my United MileagePlus Explorer credit card. (Check out the card to receive countless travel benefits and earn up to 40,000 BONUS miles!)
The flight was at the beginning of November, so we were a little worried about it being too cold, but it ended up being the perfect time to go! The parks were much less crowded than usual, the weather was beautiful (not too hot for a long hike), and accommodations were cheaper because it was the off-season.
We landed in Las Vegas in the evening and rented a van through Budget, although make sure to do your own homework and compare rental prices as these often change! That night we stayed at an Airbnb about a mile from the strip (to save money) which was on the way to the National Parks. Of course, we took some time to drive down the strip and take in the sites and sounds of Las Vegas while we could.
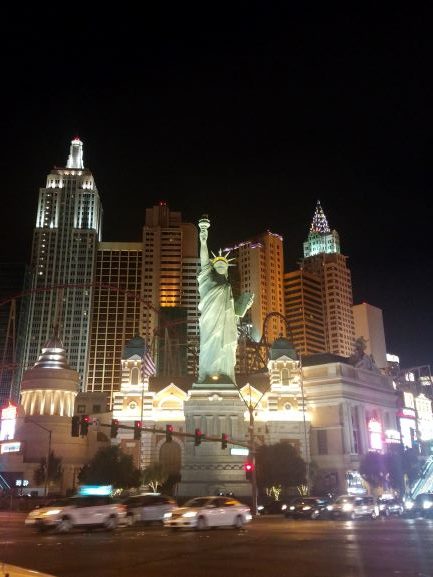
Day 2: Las Vegas to Moab
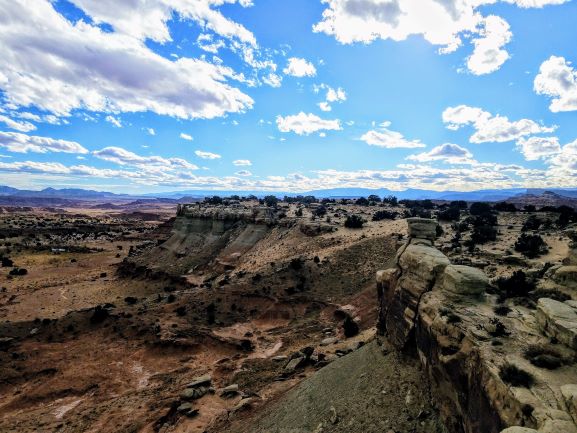
Make sure to get started early as this is a long day of driving! The drive without stops takes approximately 7 hours, but we made a full day of it as there was so much to see. There are several lookout points along the way, but one of our favorites was the Salt Wash View Area.
We also stopped at an adorable gas station with a Conestoga wagon and old farmhouse! This was right on the main road into Moab so you can’t miss it!
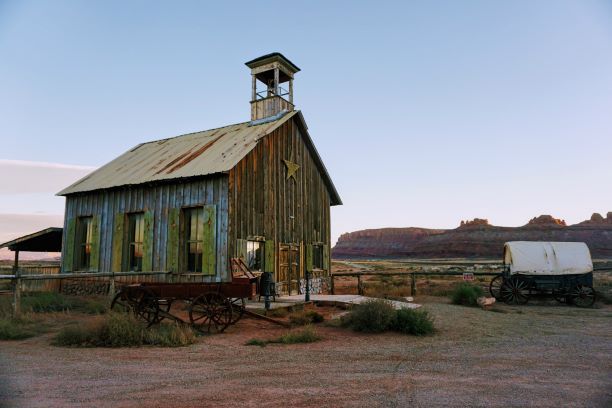
Our plan was to go to Canyonlands, but the sun had set faster than we expected so we checked into our Airbnb, which was actually a hostel-like accommodation. I was traveling with my aunt and mother who had never stayed in a hostel, and they loved this place! There was a shared bathroom and kitchen, but private sleeping quarters. There was also a fire pit and picnic tables, great for socializing with other travelers!
That night we drove over to Ken’s Lake to give me some time to play with my new DSLR lens (I am very much a newbie photographer!). The location was quite beautiful, and we all hung out and listened to coyotes howling in the distance until it was time to go to bed.
PRO TIP: If you are into photography, I used the Sony a6000 for most of this trip, along with this ultra-wide lens for nighttime photography.
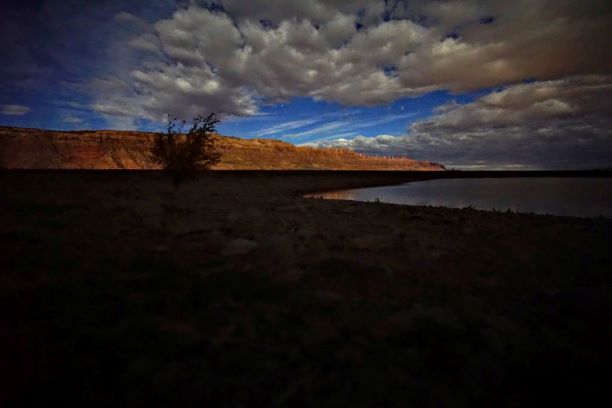
Day 3: Arches National Park and Canyonlands
This day was one of my favorite days of the trip! Wear comfortable shoes if you plan to do the hikes, although a lot of beautiful scenery can just be seen from the car as well. First things first – you will need a pass to enter pretty much any National Park. The fees for Arches can be found here.
PRO TIP: If anyone in your group is over the age of 62, they should purchase an America the Beautiful lifetime pass (it covers all companions and most National Parks). If the cost is still too much, consider going on a “Fee Free” day, but note that the parks WILL be crowded on these days.
There is basically one main road to follow through Arches National Park, with multiple off-shoots to different attractions. The main scenic road is about 30 miles long and is where you will start once you enter the gates to the park. Just driving along this road is beautiful enough, but if you get out and hike at some of the stops, you will REALLY understand the magnitude of these formations.
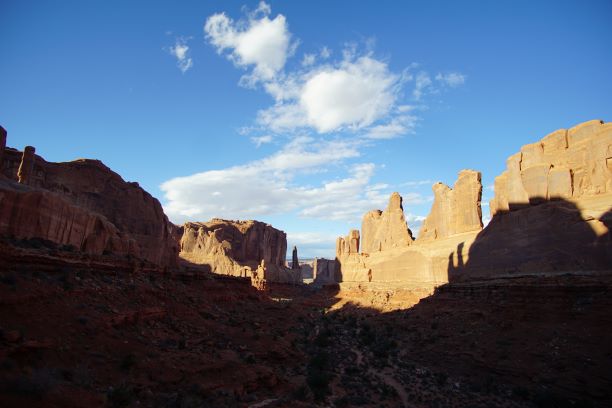
The first turnoff you will come to is Park Avenue viewpoint and it’s one of the major viewpoints in the park. There is also a hike here, but we skipped it due to time.
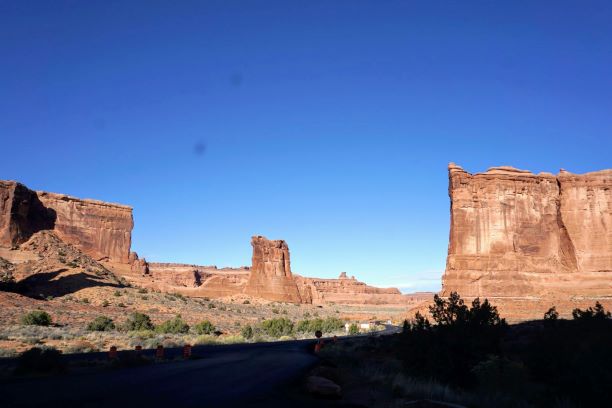
Continuing along the road, there are several other viewpoints (take your pick!), but we decided to stop at Balanced Rock and do the short hike around it.The way this rock has come to be balanced still blows my mind, and walking under it actually was a little bit scary!
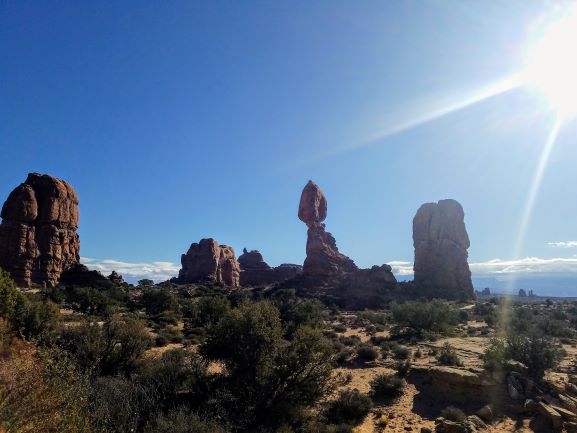
Next, we pulled off a side road towards Double Arch and The Windows. Don’t worry, the roads are all well marked so it’s easy to find your way (a map is also provided upon arrival)! This section is regarded by many to be the most beautiful of Arches National Park. First, we took the short hike to the Double Arch. Aptly named, the Double Arch is a unique geological formation in which two arches come together in one point.
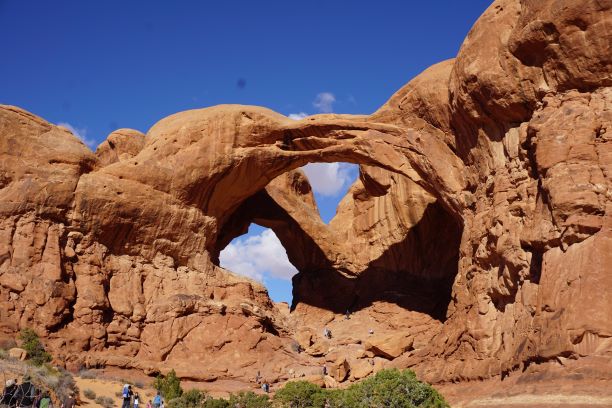
If you climb up the Double Arch, you are rewarded with a beautiful view. But be careful, once we got up there, coming down was a bit scary!
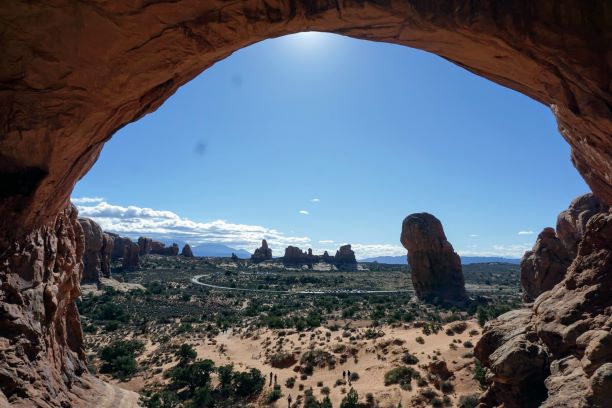
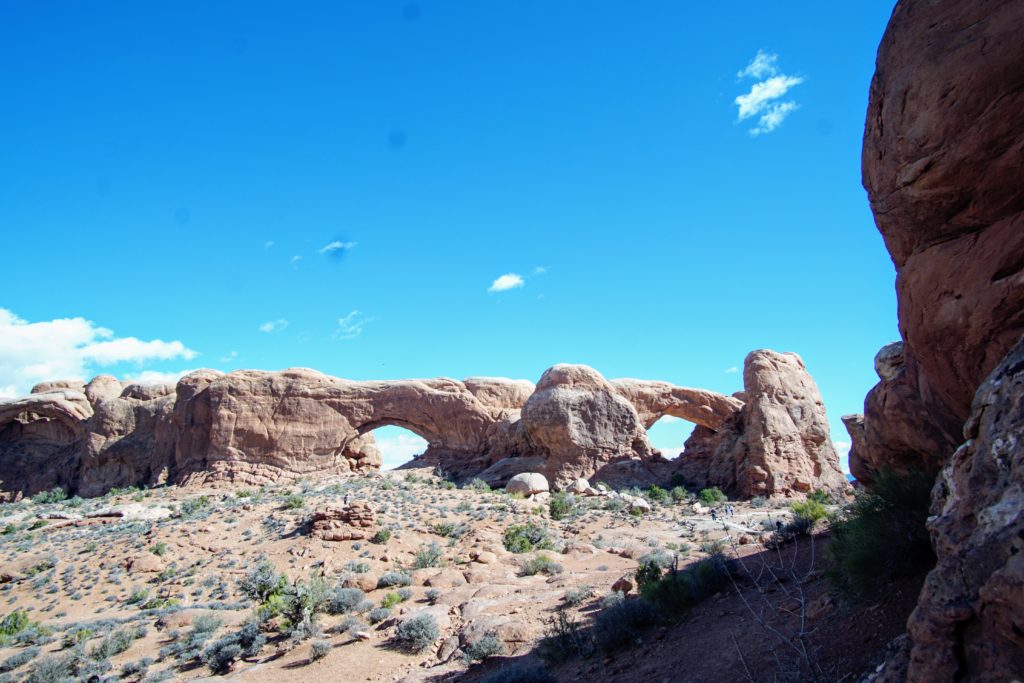
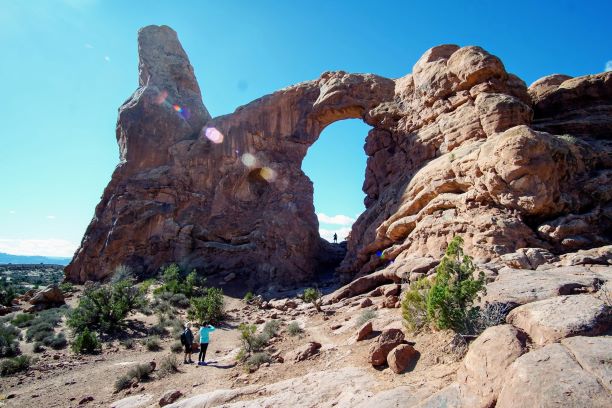
Next, we drove over to the Windows, just a short distance away. There are technically 3 main arches in this section, including the North Window, South Window, and Turret Arch. This hike was a bit longer than the Double Arch hike, but by no means strenuous.
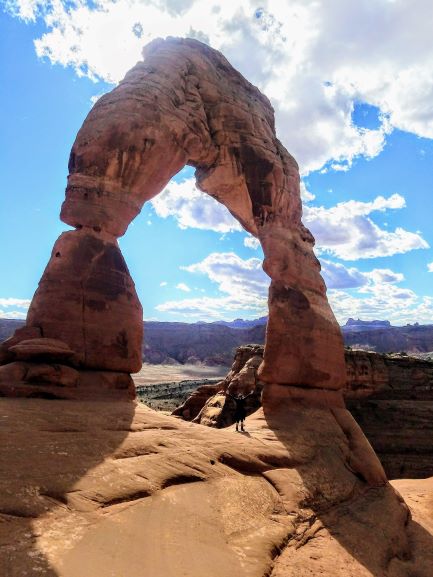
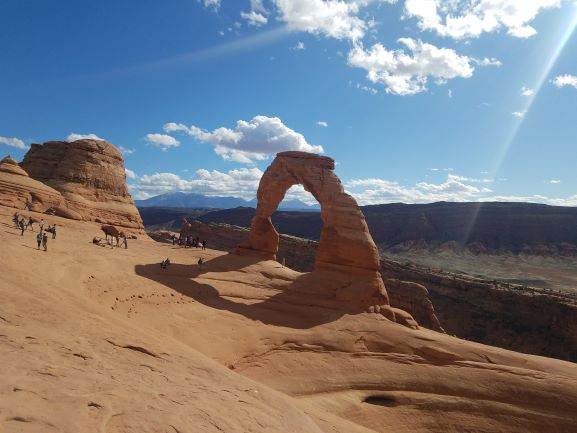
Next we drove over to Delicate Arch. This is by far the most photographed arch in the park! However, it requires a 3 mile round-trip hike which can be a bit difficult at times (but definitely do-able, considering my aunt and mom made it!).
At the beginning of the trail near the parking lot, you will find Wolfe Ranch. This is a hut built by an early American explorer, and nearby you can easily find petroglyphs on the surrounding walls. This was an interesting little detour, and didn’t add too much time to the hike.
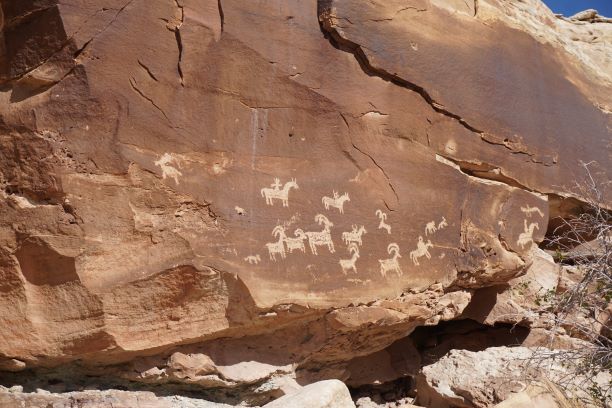
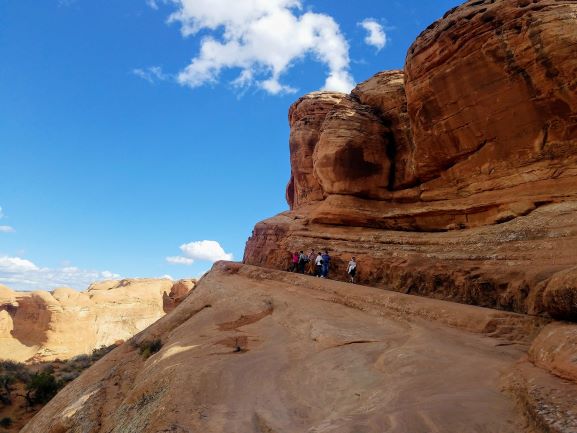
Continuing along the trail, there are a few sections that are a bit scary, but push through it! It’ll be worth it in the end.
At least we reached our destination – the Delicate Arch! There were LOTS of people in this area, and a line to get a picture under the arch (even in November). This is a great spot to stop and rest though, before your hike back down.
I should also mention that this entire area is shaped like a bowl into a giant dropoff. You will be walking on a sideways incline to get anywhere. This terrified my mom, who had to scooch on her butt to come take my picture (no judgement, it was scary!).
After taking many photos, we hiked back down to the trailhead and hopped in our car. The next stop would be the Fiery Furnace Viewpoint. There is a hike here, but we opted for the view from the parking lot.
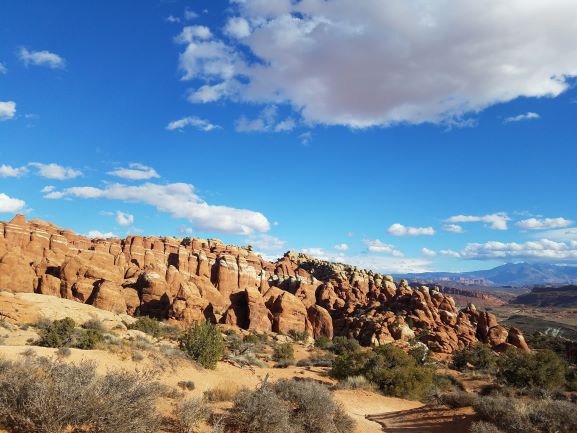
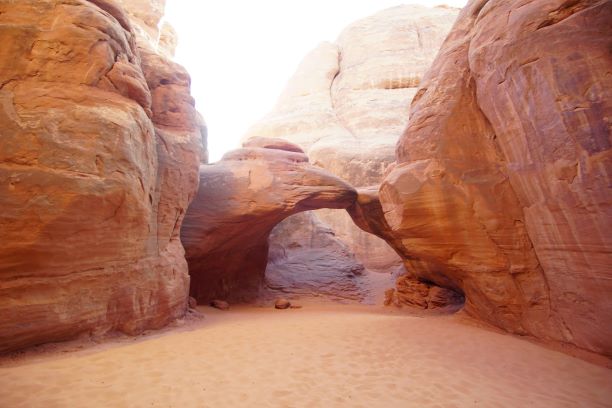
Our next stop would be Sand Dune Arch. To get to this arch, there is a short hike (.3 miles) through the slot canyons. There were some narrow spots on this hike, but there were alternative paths marked as well.
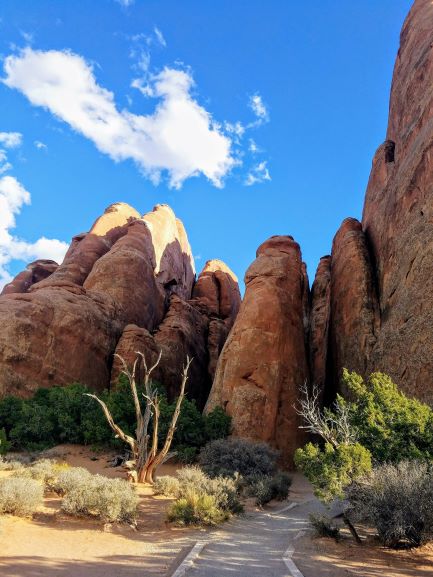
The arch itself was a little underwhelming, but I enjoyed the hike very much.
Lastly we drove to Devil’s Garden. There is a nice hike here, but we skipped it due to time. Finally it was time to turn around and head back towards the entrance. On our way out, we stopped at Park Avenue Viewpoint one more time.
Leaving Arches, we drove 30 minutes to Canyonlands National Park. There are plenty of hikes and overlooks here, but it was getting dark so we drove towards the Grand View Point Overlook. We watched the sun set over the beautiful valley below.
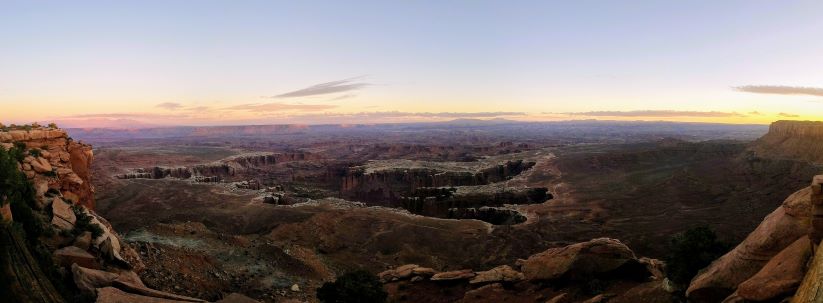
We stayed for some time after sunset (I got to practice with my nighttime lens some more!) and the temperature turned to FREEZING. Remember to pack a sweater/jacket, as the temperature can change dramatically once the sun sets. After that, we ventured into downtown Moab, grabbed dinner at one of the many restaurants, picked up some souvenirs and went to bed.
Day 4: Moab to Page (Goosenecks State Park, Monument Valley, Horseshoe Bend)
The drive from Moab to Page takes about 4 1/2 hours without stopping. However, factor in all of the stops and this is an all day affair. We got on the road early and made our way out of Moab.
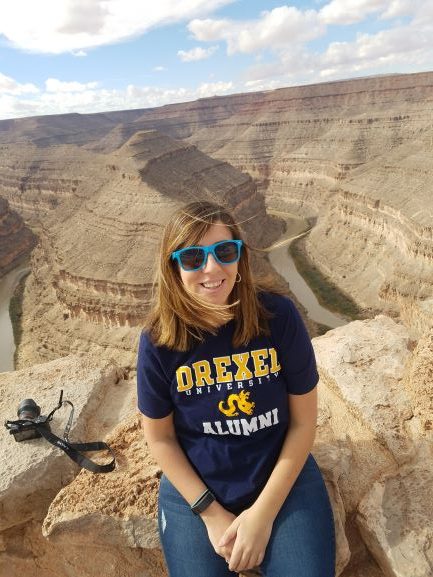
About 2 hours into our drive, we came to Goosenecks State Park. There is a $5 fee to enter the park, but we used this as our lunch stop as there are plenty of picnic benches around, and we had a great view!
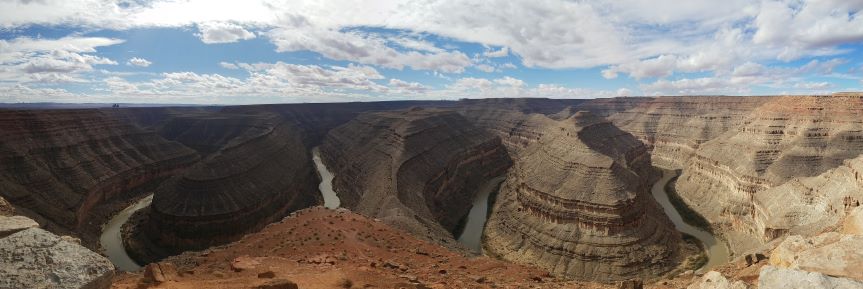
We continued our drive and soon we could see Monument Valley in the distance. There are plenty of spots to pull over and take the infamous “Forrest Gump” photo, as many people were doing. In fact, it was a bit difficult to get a shot with no one else in it!
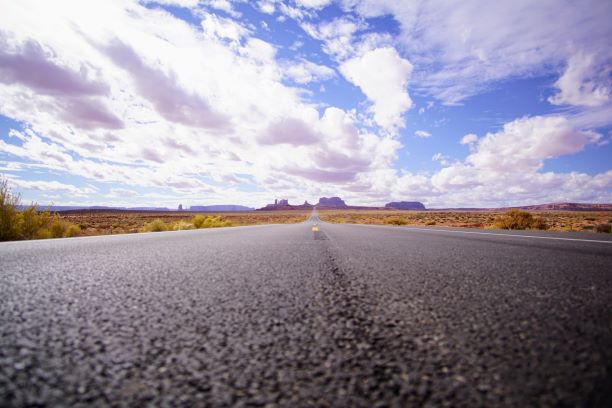
Continuing along towards Page, we came across the Utah/Arizona border. Of course we had to stop and take a photo to commemorate the event!
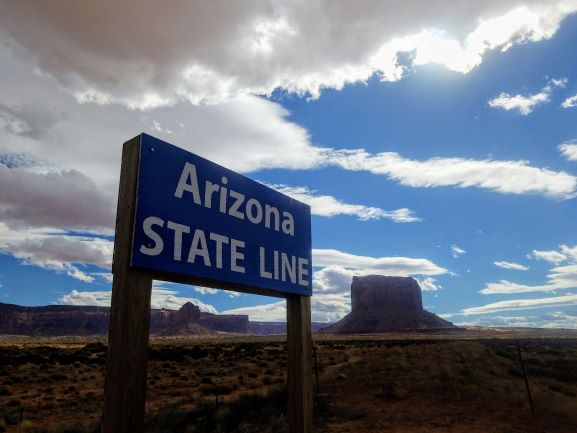
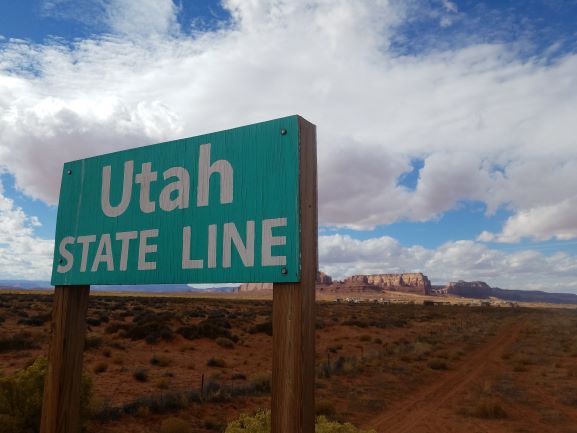
Next up would be Monument Valley. Monument Valley is a Najavo Tribal Park with many interesting geological formations. It has been featured in many movies and there are plenty of tour options, but we decided to do the self-drive Tribal Park Loop. This 17 mile loop takes you through some of the park’s most interesting sites, and although not recommended, we took our mini-van through it and were totally fine (4 x 4 is typically recommended).
Our first stop would be the Visitor’s Center, which not only had maps and souvenirs, but also great views of the entire park below.
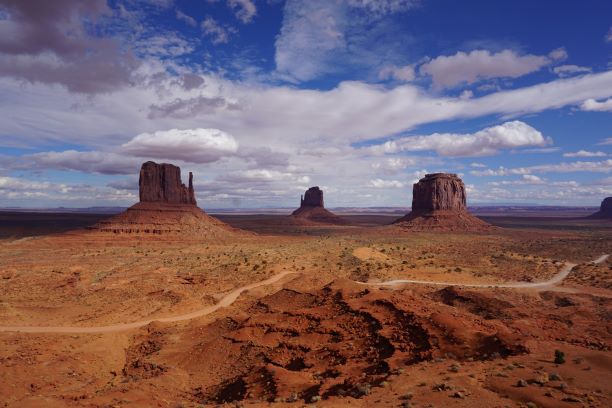
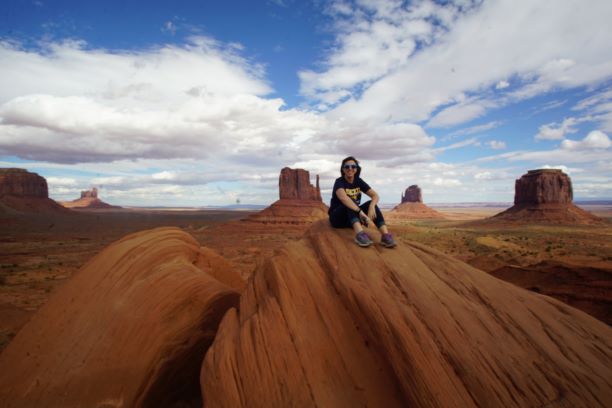
Next, we hopped in our van and drove to the Tribal Loop. The map from the Visitor’s Center points out different interesting formations and their history, and it’s very easy to follow. Keep an eye out for West Mitten Butte (named for it’s mitten-like shape)!
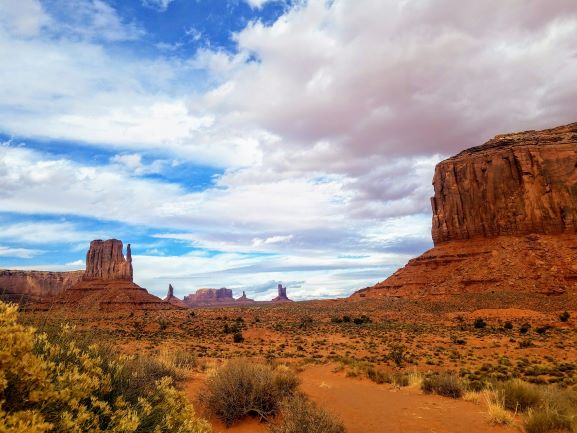
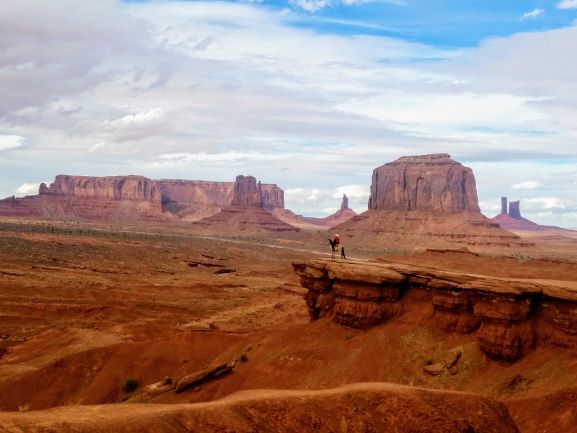
After a short while, we got to John Ford’s Point. This is a popular lookout point made famous by it’s multiple appearances in Western movies. This spot was definitely the most crowded, and there was a Native American dressed as a cowboy that you could take pictures with for $5. There were also lots of traditional souvenirs sold here.
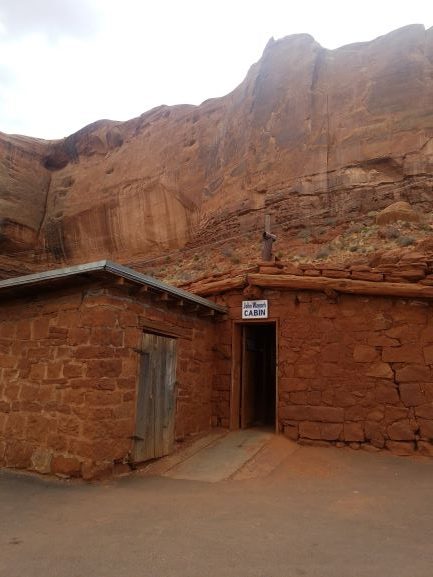
After spending some time at John Ford’s Point, we headed back the way we came and exited the loop. Our next stop would be John Wayne’s Cabin, just a short drive away. There was some fun movie history, as well as Najavo history, in this little museum. It was also FREE, but donations were accepted. (Also a great spot to use the restroom!)
After using the restroom, it was onto Page, Arizona! In Page, we’d be staying at the Best Western View of Lake Powell, because honestly it was the cheapest option we could find (and had a great view)!
But before checking in, we arrived in Page just in time to see Horseshoe Bend at sunset! There is a 3/4 mile hike to reach this incredible viewpoint, but it is not very difficult. It is also a popular tourist destination, and there is no fence, so be careful! Every year there are multiple accidental deaths because people were trying to get the perfect selfie.
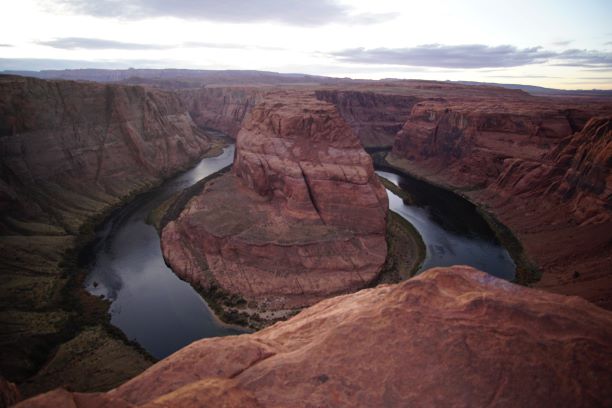
After watching the sun set, we checked into our hotel and then ventured out into Page for dinner. We happened upon Big John’s Texas BBQ, which was affordable, delicious and had live music! I’d definitely recommend this place if you like authentic bbq food.
Day 5: Bryce Canyon National Park
So full disclosure, I THOUGHT I booked Antelope Canyon on this day. When in fact, I had it booked the day after. If you are following this itinerary to a T, then book Antelope Canyon when you are in Page (this day). Unfortunately, once we got to the tour place and found out that we had booked for the day after, it was too late. The tour for that day was full and our tickets could not be rescheduled.
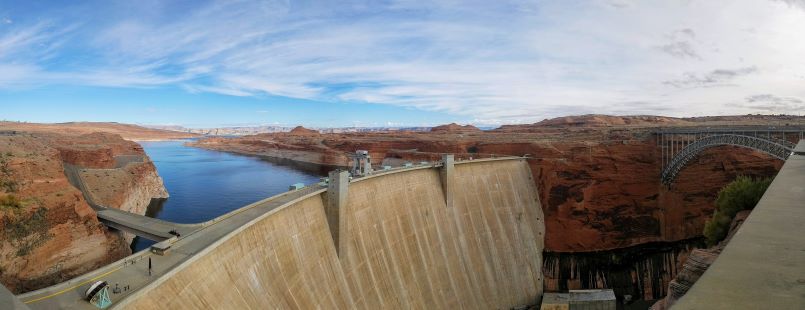
Instead, we opted to drive to Bryce Canyon National Park. It was about a 3 hour drive from Page to Bryce. Our first stop would be the Glen Canyon Dam. This is the dam that creates Lake Powell. Stop by the Visitor Center for information about the construction and history of the dam.
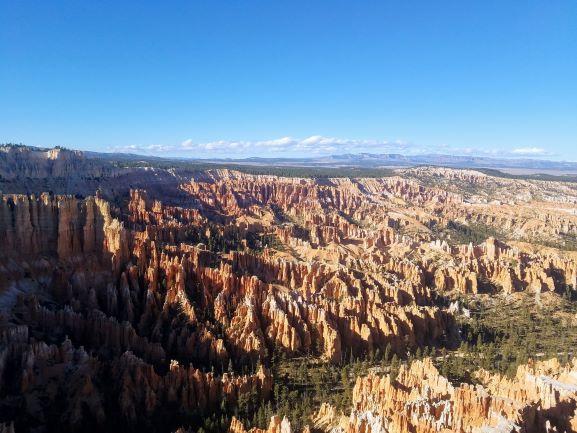
Once we arrived in Bryce Canyon, our first stop would be Bryce Point. This is a great overlook with 270 degrees of views! SO MANY HOODOOS! (Hoodoos are the rock formations found in these parks.) There are longer hikes here but we just took the short hike from the parking lot to the overlook.
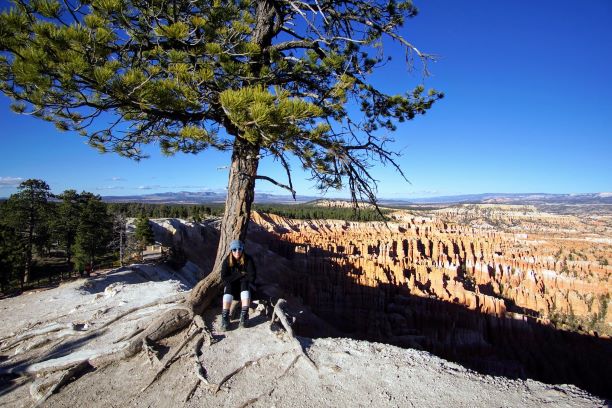
Next, we drove to Inspiration Point. This is another short hike to a beautiful overlook!
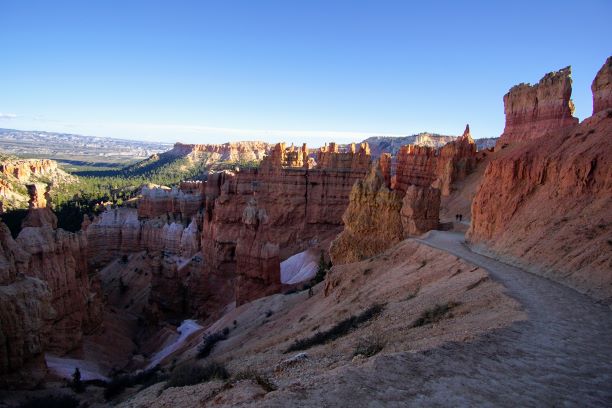
Our next stop would be Sunset Point. Not only is this a beautiful lookout spot, but this is the starting and end point of one of the best trails in Bryce – Najavo Trail! Take a minute to take in the views from this spot and then if you’re feeling up for it, start descending into the hoodoos for a 1.4 mile loop hike (rated moderate in difficulty).
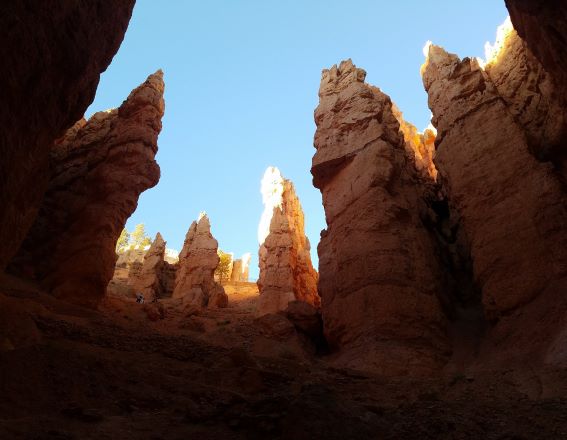
We finished our hike right about sunset time, so we watched the sun go down over the park with many other tourists. I then got to use my nighttime lens some more. 🙂
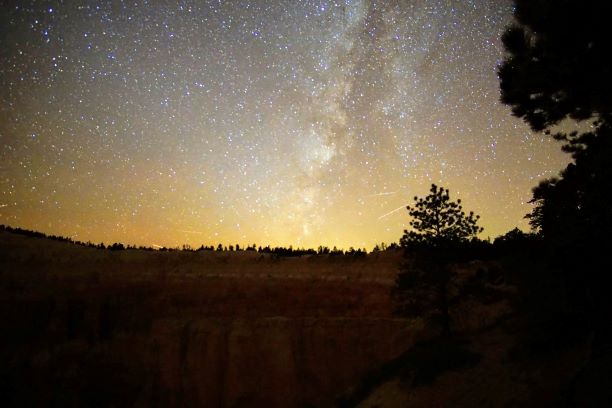
That night we stayed at America’s Best Value Inn and Suites – Bryce Canyon.
Day 6: Antelope Canyon
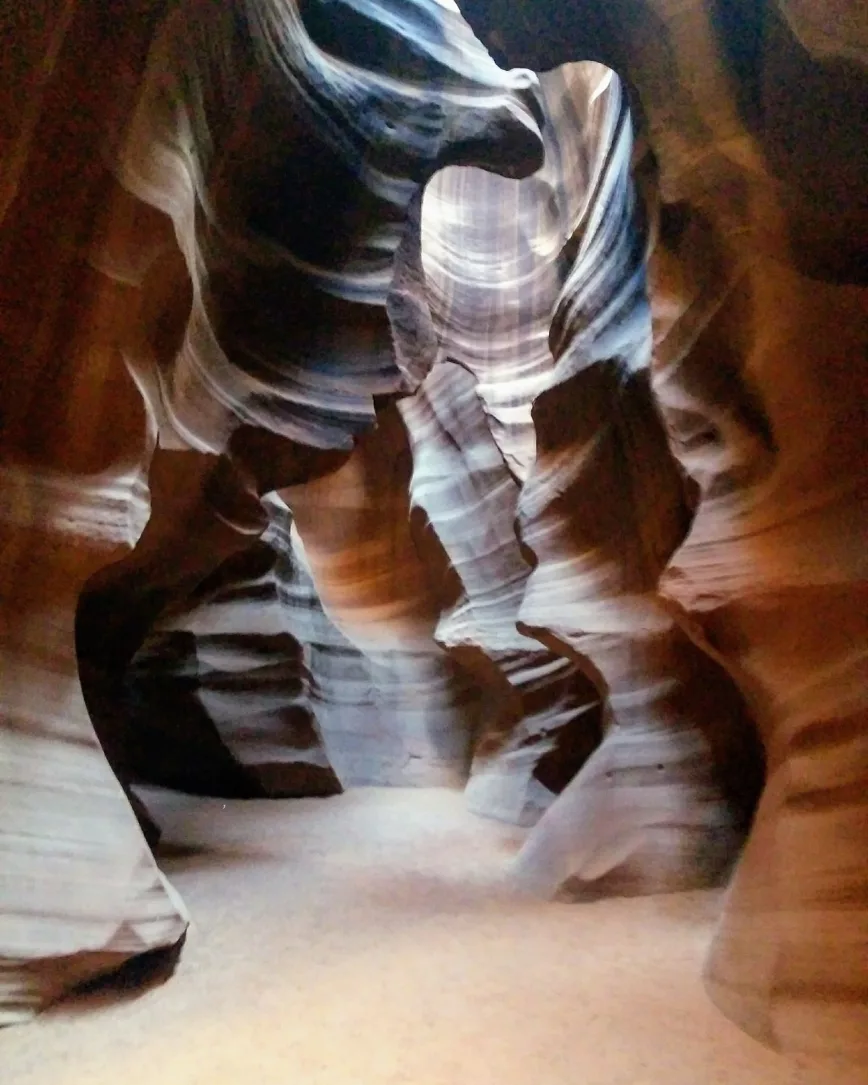
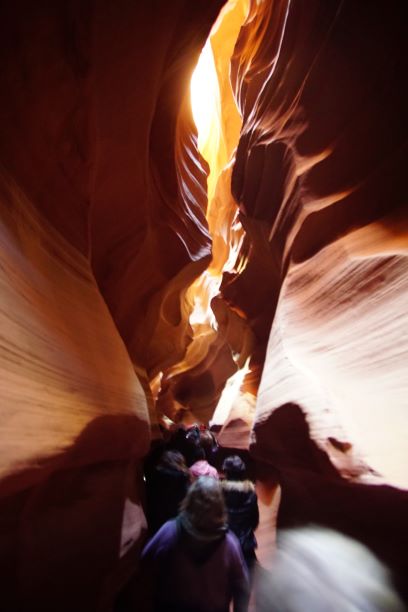
Due to my booking error, we had to drive BACK to Page for our Antelope Canyon tour. Obviously if you were doing this correctly, today would be the day for Bryce Canyon. However, the drive back was TOTALLY worth it! Antelope Canyon was one of my favorite destinations of the trip. There are lots of different options for tours (which are legally necessary to see this canyon), but we opted for the Upper Antelope Canyon tour.
While VERY crowded in the canyon, it was still a beautiful site to behold and you shouldn’t miss it!
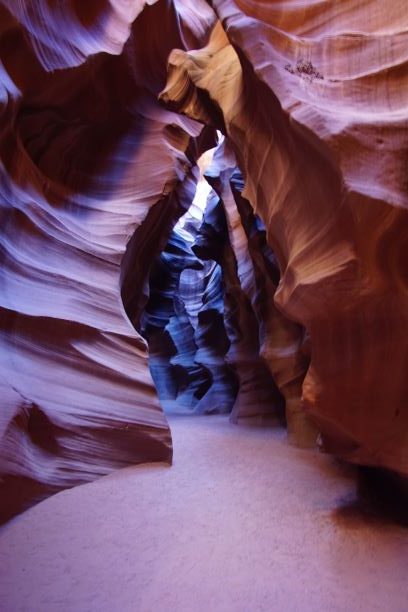

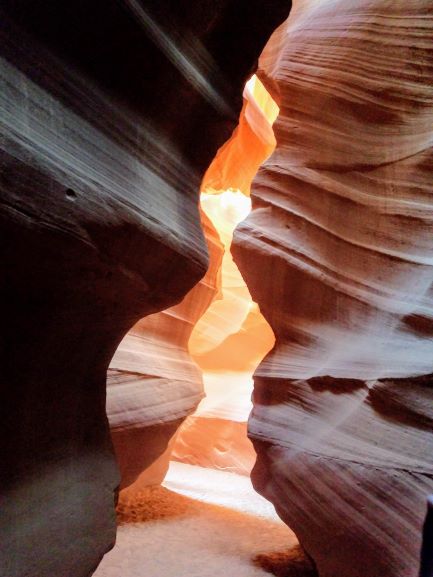
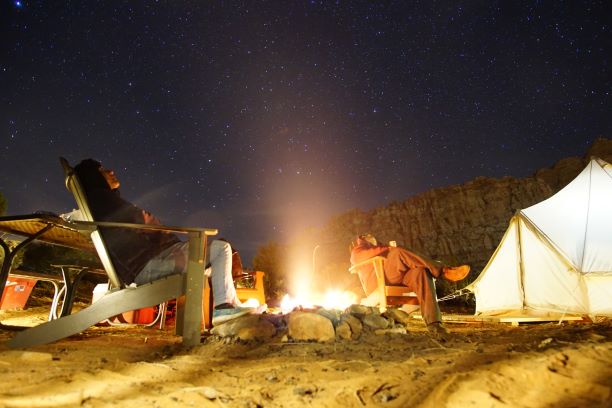
After Antelope Canyon, we headed towards our Airbnb for the night, which was my absolute favorite lodging of the trip! It was a “glamping” experience, which included a king size bed in a tent. You were given a heater, chairs, firepit and wood, etc – everything you needed to be cozy for the night! The bathrooms were only porta potties, so if you NEED a real toilet, then this may not be the place for you. The Airbnb was located right outside of Zion National Park, about a 2 hour drive from Antelope Canyon.
We spent the rest of the night relaxing around the fire and stargazing. It was the perfect spot for it!
Day 7: Zion National Park
This morning we woke up and made our breakfast over the fire in the shadows of Zion National Park. Our plan would be to get to the park and do some of the many hikes offered. Some of the most famous hikes are Angel’s Landing and the Narrows. Knowing that I wanted to do these, we stopped by Zion Adventures for gear rental. It was November and the water can be FREEZING at this time (although gear rental is probably a good idea year-round).
PRO TIP: If you plan to hike the Narrows from the top down, you will need a permit. You can request one here.
Once we arrived in Zion, we walked to the Visitor’s Center and found out that Angel’s Landing was actually closed due to someone defecating on the trail! Gross! We hopped on the free mandatory shuttle bus (no personal vehicles are allowed in the park) and headed towards the Temple of Sinawava, the last stop on the shuttle but the start of the Narrows hike.
I would be doing this hike alone, while my mom and aunt rode the shuttle bus and explored the other stops. You can go as far as you like or not into the Narrows. I geared up and started my way on the “trail”. Note – there is no actual trail, you will be walking in the water (sometimes above your waist) the entire time.
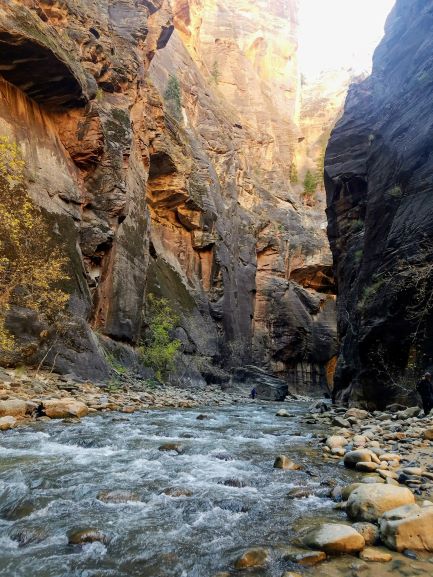
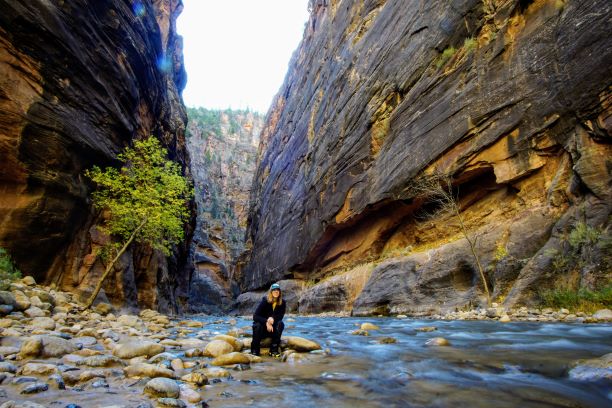
I’m honestly not sure how far I went, but I was hiking for several hours. It was very beautiful, but at one point I slipped and my top half fell into the water and I was starting to get very cold, so I headed back.
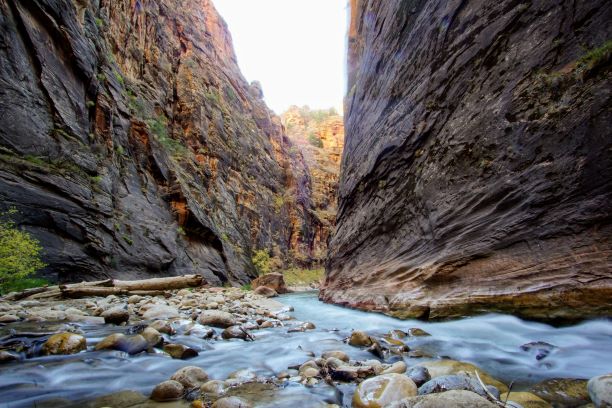
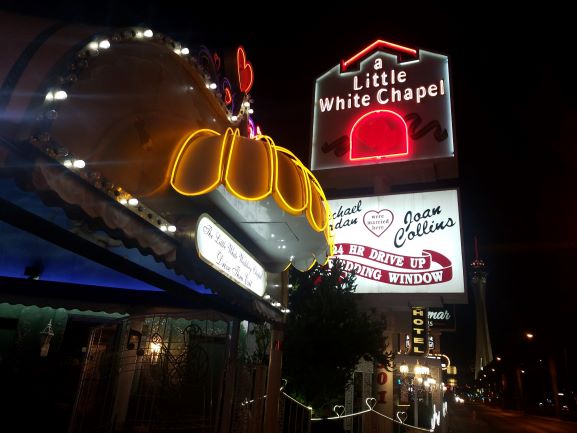
After the Narrows, we drove 2.5 hours back to Las Vegas and checked into our hostel for the night, Hostel Cat. Since we were close by, we walked to the infamous Little White Chapel and poked around before heading to bed.
Day 8: Death Valley National Park
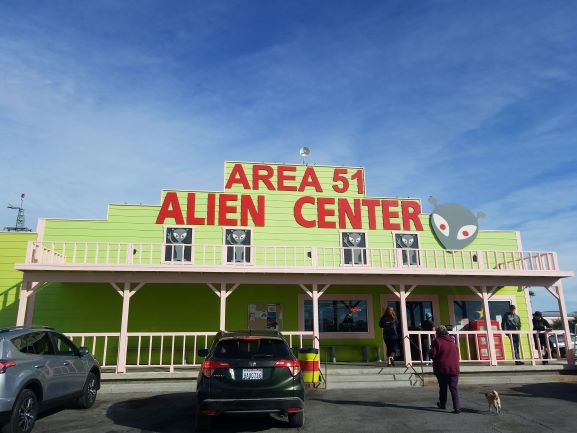
After another early morning wake-up, we hopped in the car and headed towards Death Valley National Park in California. On the way, we drove past Area 51, so of course had to stop in the gift shop for some fun souvenirs!
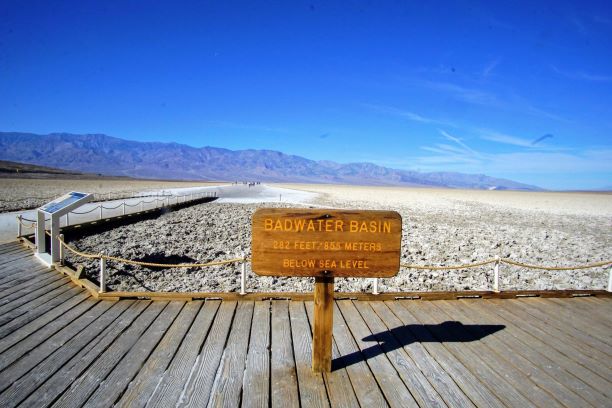
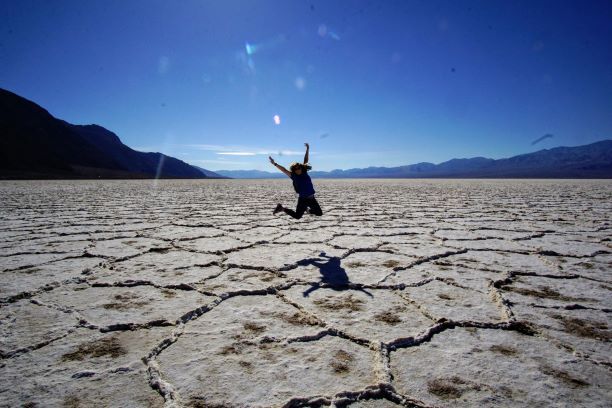
Once entering Death Valley National Park, we drove towards Badwater Basin, the lowest point in North America. There are also very interesting salt formations here, so make sure to get out and look around (but bring water!)!
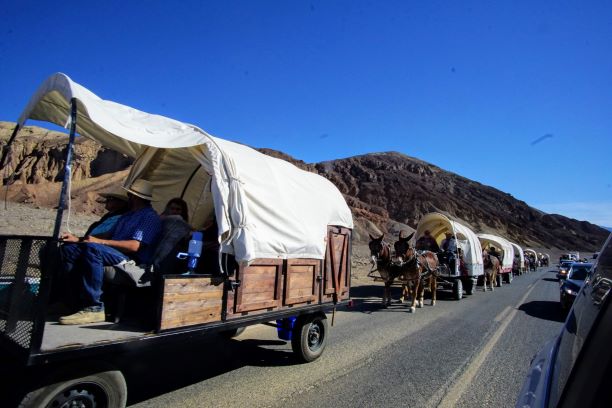
On the way out, we got stuck behind some odd wagon train. I still have no idea what was happening, but lots of people dressed in traditional clothing were driving Conestoga wagons.
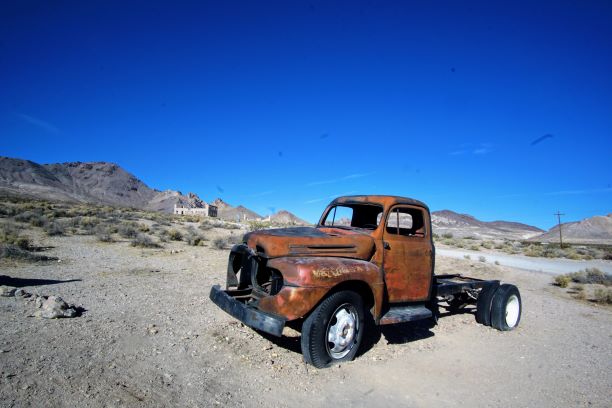
Next, we wanted to visit some ghost towns! For this, we headed into the state of Nevada. The first town on the list would be Rhyolite, a town founded around 1904 due to the gold rush. At it’s peak, Rhyolite was home to three train lines, three newspapers, three hospitals and 53 saloons! Now only vacant buildings and remnants of a booming town still stand.
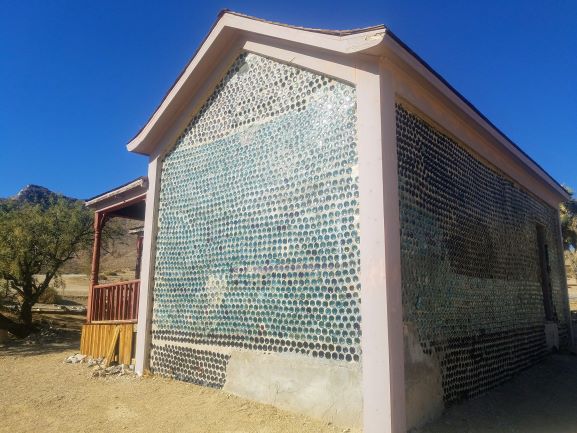
One of the main interest points in Rhyolite is the glass bottle house, built in 1906 by a man with limited building supplies and quite the imagination.
Our next ghost town would be Gold Point, a mining town founded in 1868 with a population today of 27 people. This town was a lot more in tact than Rhyolite had been, and significantly more creepy. It was probably my favorite of the 3 ghost towns we visited.
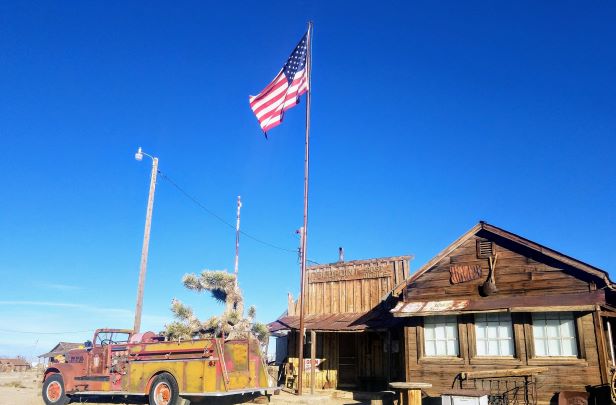
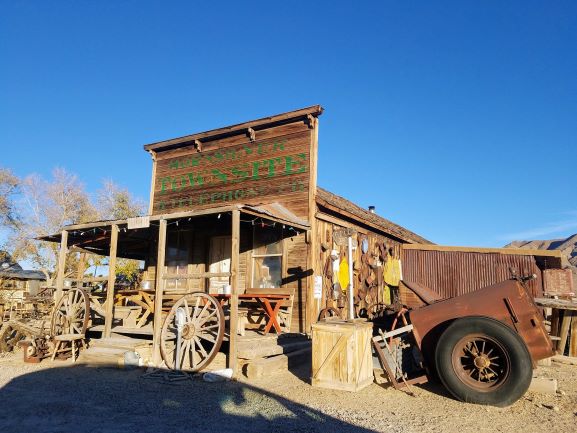
After exploring the town and nearby mine (be careful – there ARE mine shafts that are not completely closed off), we headed to the “downtown” of nearby “ghost town” (although more populated than the others) Goldfield. This town is known for the Goldfield Hotel, which is supposedly one of the most haunted hotels in the country.
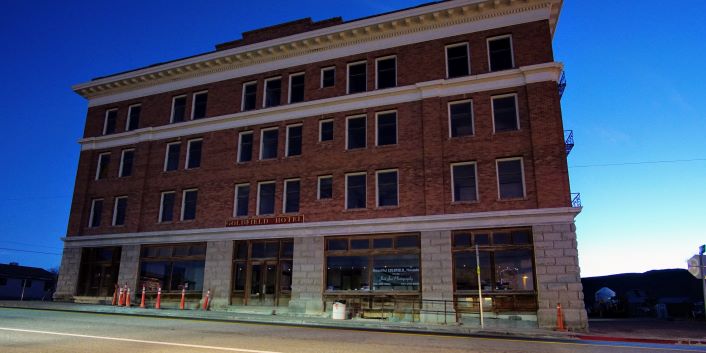
We grabbed dinner nearby at the Hoist House, which was delicious but equally creepy. To be honest, the entire town just gave off a creepy vibe. So to all those ghost hunters out there, head to Goldfield!
After dinner, we drove back to Las Vegas. It took about 3 hours and by that time, my mom and aunt went directly to the airport to fly home. I was staying in Vegas for another night, so I went back to Hostel Cat and got ready for a night on the town! I met some friends at the hostel and we had a great night out!
Day 9: Las Vegas
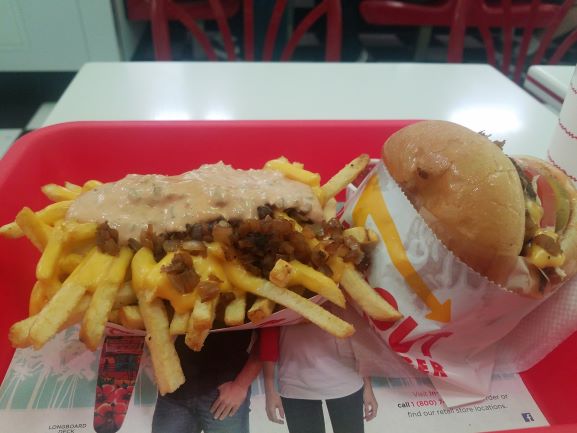
What better way to spend my last day in Vegas than with some gambling, a show, and some In-N-Out! I explored the different casinos, won big playing craps (enough to pay for my trip!) and treated myself to Animal Style burger and fries.
That night I had booked a show with Penn and Teller! I always enjoyed watching them on TV and their live performance was not a disappointment! They even stayed afterwards to take pictures with everyone.
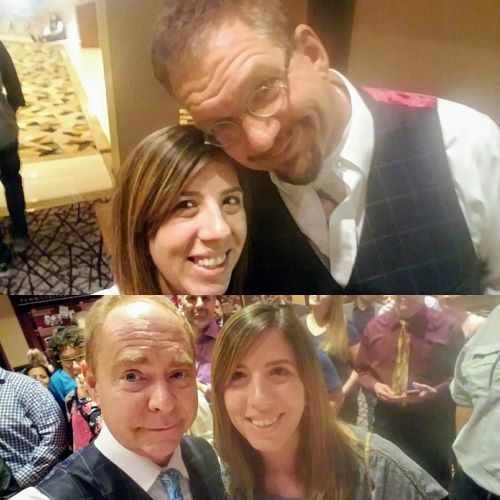
After a great day, it was time to head to the airport and head home.
As always, if you have any questions, feel free to contact us here!


